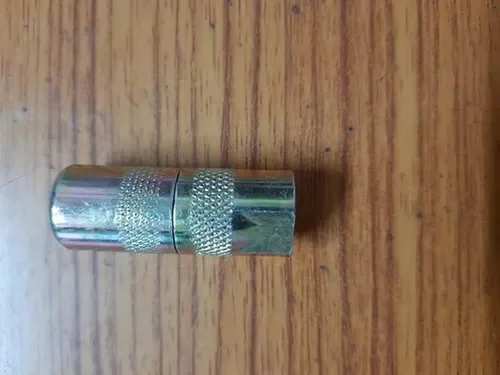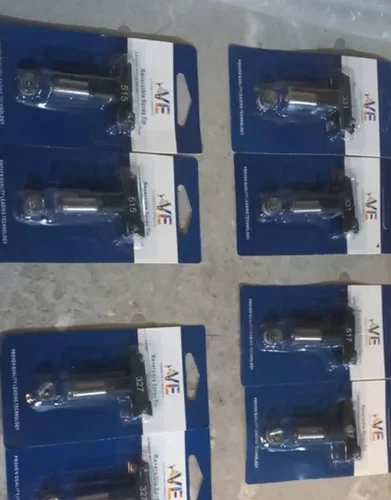
Automation Grade: Automatic Brand: VISION Product Type: REVERSIBLE Usage/Application: AIRLESS PAINTING Model Name/Number: VE TIP 317 The reversible RAC IV SwitchTips are the most widely used tip for spraying a variety of coatings from lacquers to exterior paints Absolutely! Here are some helpful tips for using airless sprayers, complete with visuals to enhance your understanding: Before you spray: Safety first: Wear gloves, safety glasses, and a breathing mask to protect yourself from paint fumes and overspray. Prepare your workspace: Cover furniture and floors with drop cloths or plastic sheeting. Choose the right tip: Select a tip size and pattern based on your paint type and project (see my previous response for a detailed explanation). Filter your paint: Strain the paint through a paint filter to remove any lumps or debris that could clog the sprayer. Fill the sprayer: Follow the manufacturer's instructions to fill the sprayer with paint, paying attention to the pressure limit. While spraying: Maintain proper distance: Hold the spray gun 12-18 inches away from the surface you're painting for optimal coverage and control. Move consistently: Keep the gun moving at a steady pace, overlapping your strokes slightly to avoid missed spots. Trigger control: Engage the trigger just before you start moving the gun and release it just after you stop to prevent drips and splatters. Start and stop at edges: Begin and end each stroke slightly off the edge of the surface to avoid overspray. Cleaning up: Flush the sprayer: Run clean water or solvent through the sprayer to remove any leftover paint and prevent clogging. Clean the tip: Remove the tip and soak it in solvent or cleaner, then scrub it gently with a brush. Store properly: Store the sprayer and tip in a cool, dry place, following the manufacturer's instructions. Bonus tips: Practice on scrap material: Before tackling your actual project, try out the sprayer on a piece of scrap wood or cardboard to get a feel for how it works. Thin your paint if needed: Thicker paints may require thinning with a compatible solvent for proper spraying. Work in sections: Don't try to cover a large area all at once. Divide your project into smaller sections and tackle them one at a time. Clean up spills immediately: Wipe up any spills or overspray as soon as they happen to avoid staining.

Vadodara
+918200435500
 Chat with us